I wanted to make some gluten-free and dairy-free muffins, just to see if I could, but when I looked for recipes, it was hard to find gluten and dairy-free. But I found a few like this one and this one. But I wasn't crazy about either one. And as for changing recipes, that takes a bit of tweaking. And if you're into that, you know the first thing you do is to write down everything you change in the recipe.
Sometimes I'm up for experimenting, and I like starting at the bottom and taking bits and pieces of recipes and then weaving them together. But baking is tricky and I don't like to waste food, and I don't want to make mistakes.
Let's just say these muffins saw earlier drafts.
The buckwheat version came from all the buckwheat flour I had on hand. I'd had plenty for dog biscuits, but just because it's good for dog biscuits, it may not fly for muffins. The buckwheat muffin was dense, and tasted like a strong gingerbread. Leftovers the next morning were hard at rocks, and they seriously could have hurt someone if I'd thrown it. (Not that I'd ever have reason to chuck a muffin, but you never know.)
Let's just say my Cooking Assistant happily disposed of the mistakes. He must pray for mistakes.

In the second version, I used millet flour (recommended by a local gluten-free bakery). But I didn't include enough liquid ingredients, so though the outer muffin looked and tasted good, but inside the crumb was dry and crumbly. The next day the texture was like sawdust. Well, maybe not that bad but you seriously needed a cup of coffee to go with it.
One thing I learned:
Eat your mistakes while they're still warm.
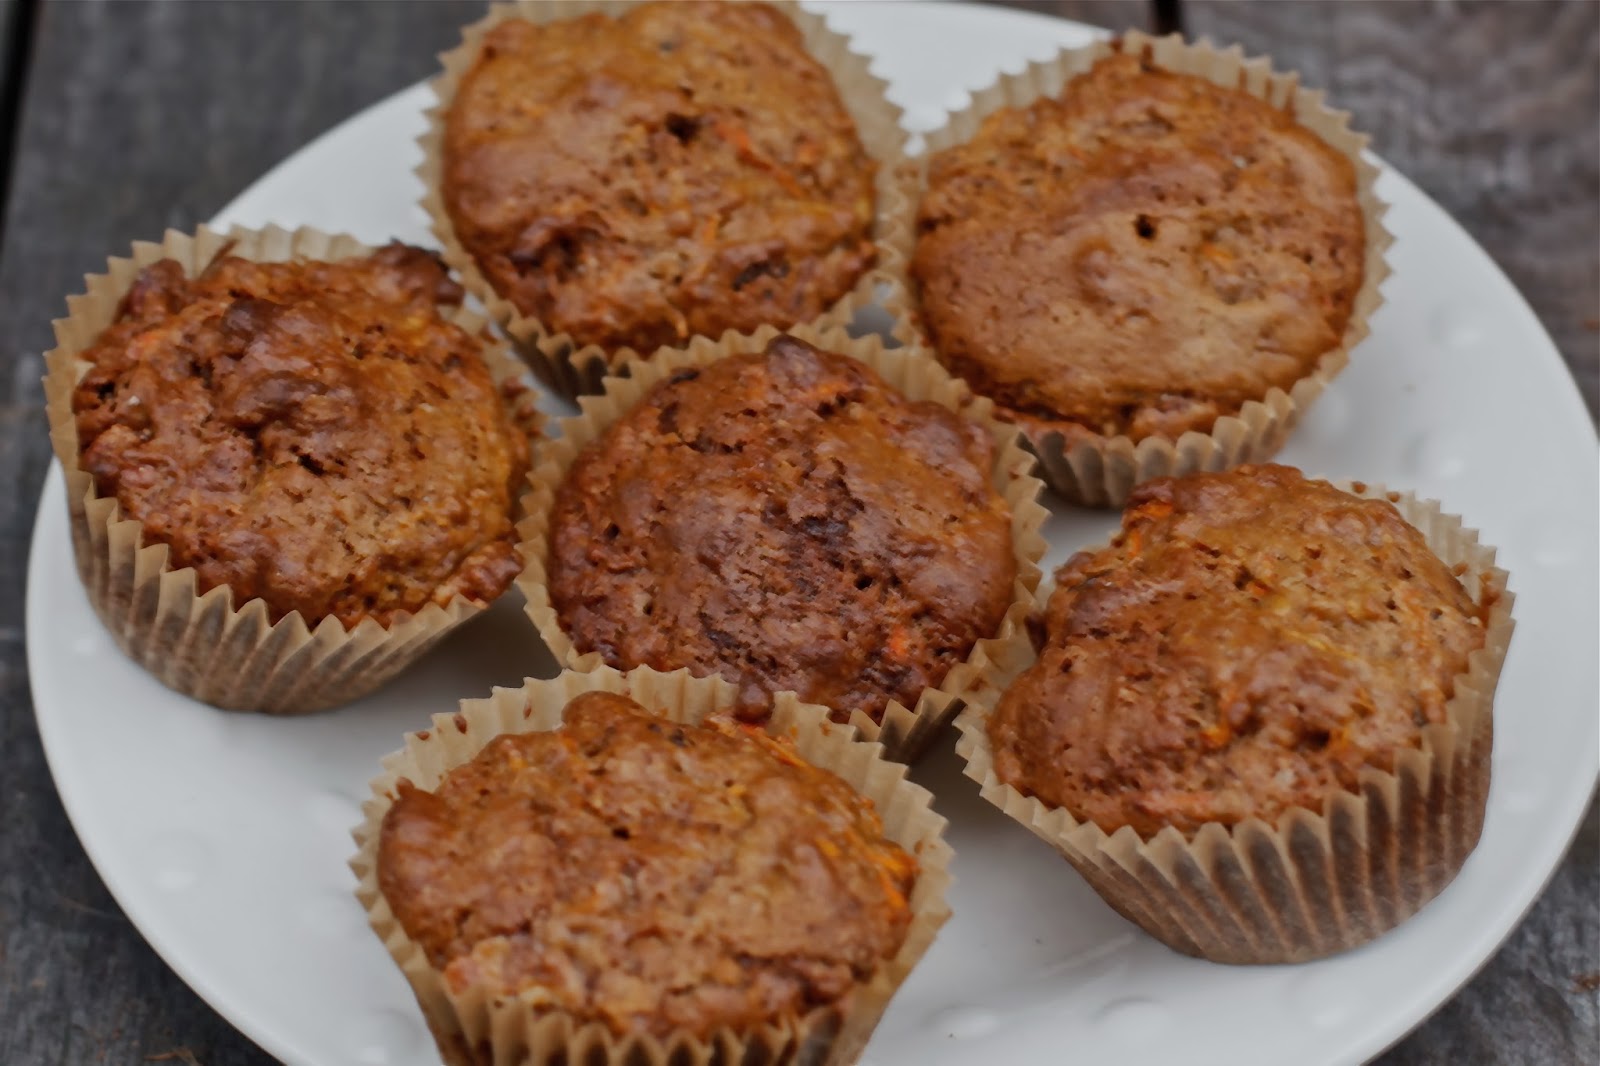
 |
| My Cooking Assistant hopes for more baking mistakes. |
Gluten-free vegan muffins dry out sooner than wheat based muffins or muffins that include eggs. That's because eggs add moisture, so here in this recipe comes from bananas, oil, and maple syrup.
Someone recently asked me why not applesauce? The truth is, I haven't baked with applesauce enough to have confidence that my muffins won't turn into hockey pucks.
Really, it could happen. Some sad muffins have passed through my experimental kitchn. Baking is a precise art.
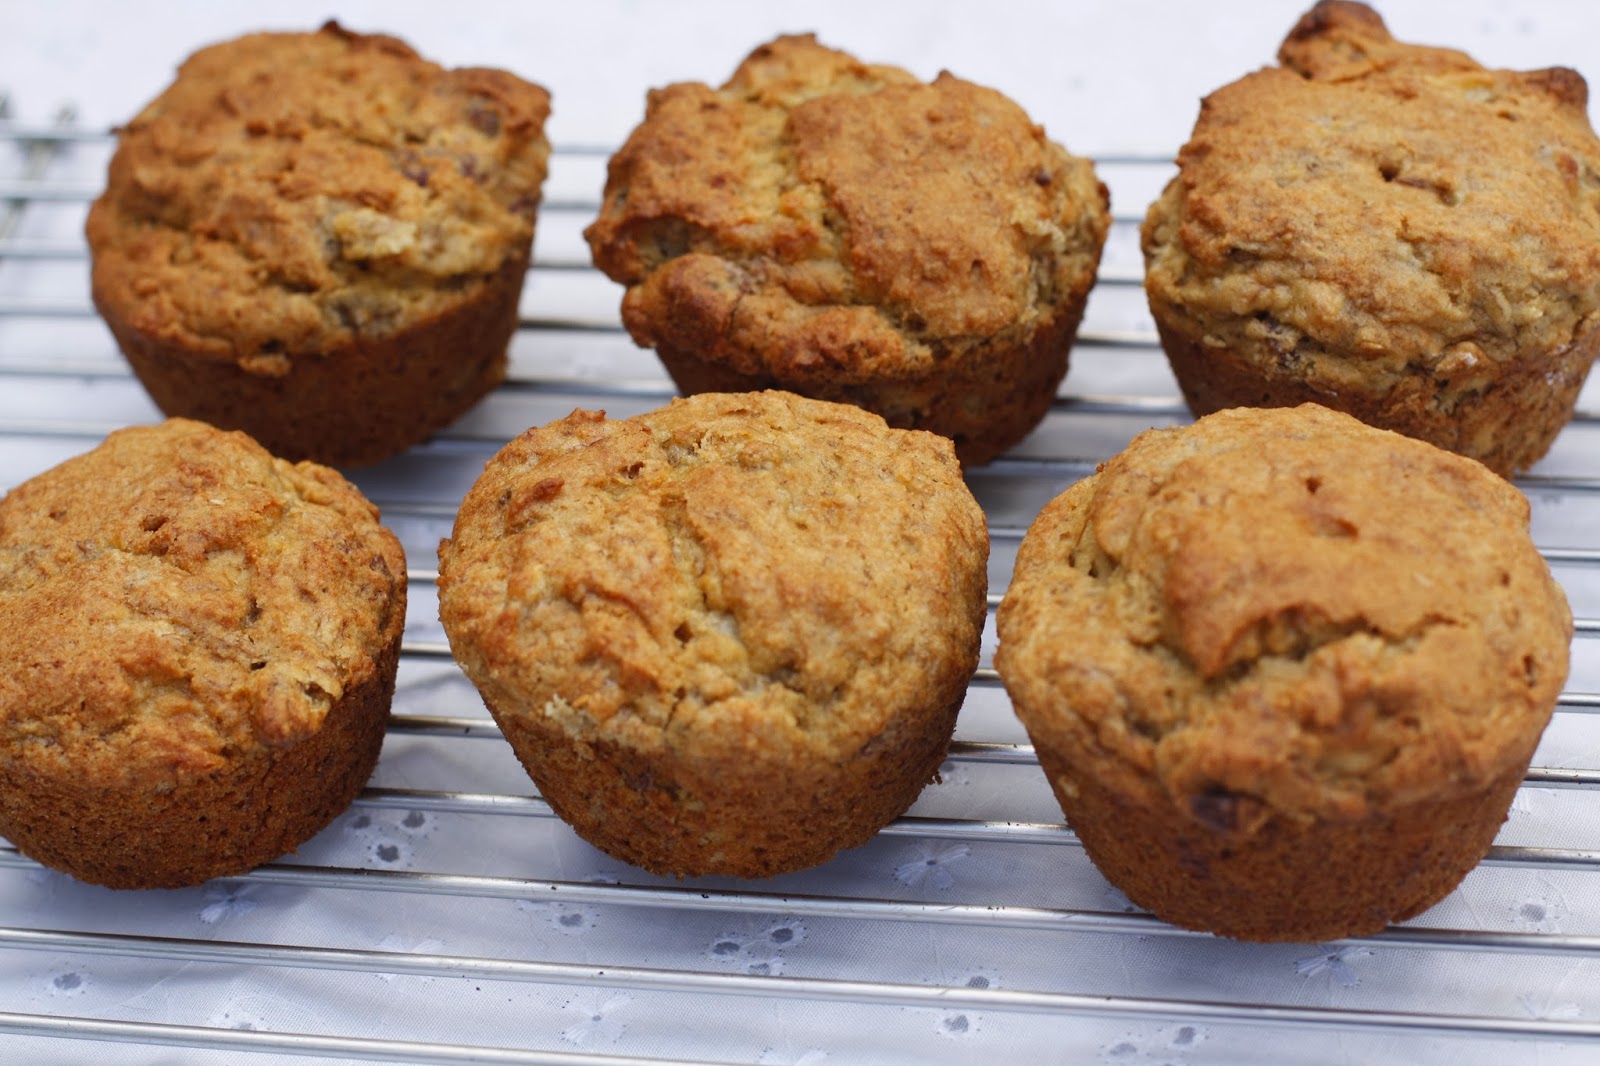
Gluten-Free Banana Nut Muffins
(Makes 6 muffins)
These muffins have great flavor and the outside is sweet. The inside is more delicate than a wheat-based muffin. It's possible the could even be better with one tablespoon more of potato flour.
1 cup millet flour
1 tablespoon each: tapioca flour and potato flour
1 teaspoon xantham gum
1 teaspoon baking soda
1/2 teaspoon cinnamon
1/4 teaspoon nutmeg
1/4 cup canola oil
1 cup mashed ripe bananas (2 small)
2 tablespoons lemon juice
1/4 cup maple syrup
1/2 cup toasted walnuts
1. Preheat oven to 375F. Line 6 muffin tins with paper or lightly oil tins.
2. Combine millet flour, tapioca and potato flour, xantham gum, baking soda, cinnamon and nutmeg. Mix thoroughly, making sure no small lumps of baking soda remain.
3. Combine oil, banana, lemon juice and maple syrup. Mix well. Pour mixture into the flour blend and stir until a dough forms. Stir in walnuts. Fill muffin tins about 3/4 full.
4. Bake for 25 minutes or until rounded and browned on top. The millet flour caramelizes as the muffin bakes.


I plan to ring in 2014 with more breakfast options and recipes.
 |
| 2013 has been a good year in food. Here's to many more! |